
Changing the collation of an SQL Server instance after installation is a significant task that requires careful planning and execution. Collation affects how data is sorted and compared, so it’s crucial to approach this change methodically to ensure data integrity and application functionality. In this blog, we will walk you through the step-by-step process of changing your SQL Server collation.
Step 1: For safer side Backup Your User Databases
Before making any changes, back up all your databases. This step cannot be overstated—having a complete backup ensures that you can restore your data in case anything goes wrong during the process.
-- Example backup command
BACKUP DATABASE [YourDatabaseName] TO DISK = 'C:\Backups\YourDatabaseName.bak';Step 2: Check the Current Collation of SQL Instance
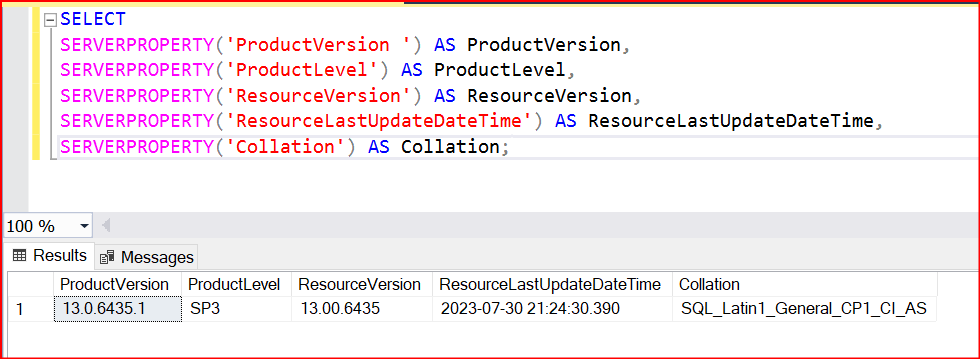
To determine your server’s current collation, run the following query:
SELECT
SERVERPROPERTY('ProductVersion ') AS ProductVersion,
SERVERPROPERTY('ProductLevel') AS ProductLevel,
SERVERPROPERTY('ResourceVersion') AS ResourceVersion,
SERVERPROPERTY('ResourceLastUpdateDateTime') AS ResourceLastUpdateDateTime,
SERVERPROPERTY('Collation') AS Collation;This will return the collation setting currently in use.
Step 3: Check Master database location
Record the current location of all data and log files for the system databases. Rebuilding the system databases installs all system databases to their original location. If you have moved system database data or log files to a different location, you must move the files again.
SELECT name, physical_name AS current_file_location
FROM sys.master_files
WHERE database_id IN (DB_ID('master'), DB_ID('model'), DB_ID('msdb'), DB_ID('tempdb'));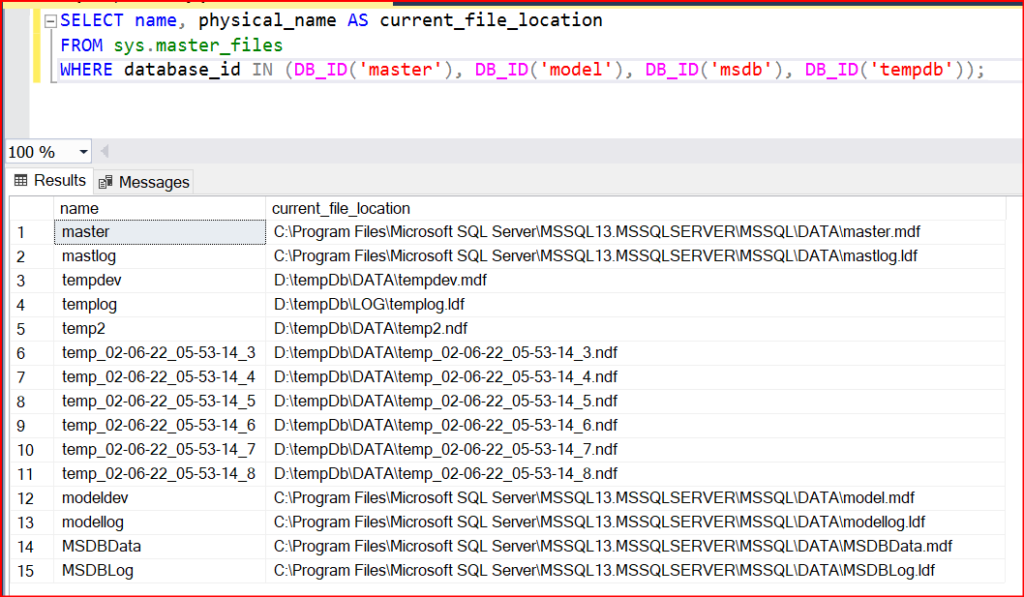
Step 4: Detach all user databases before rebuilding your system databases
Detach all user databases before rebuilding your system databases. If you leave databases attached they will be detached and will be found in the database folder.
Step 5: Rebuild the Master Database
Rebuilding the master database is necessary to change the server collation. Changing the instance collation involves the following steps:
- Make sure you have all the information or scripts needed to re-create your user databases and all the objects in them.
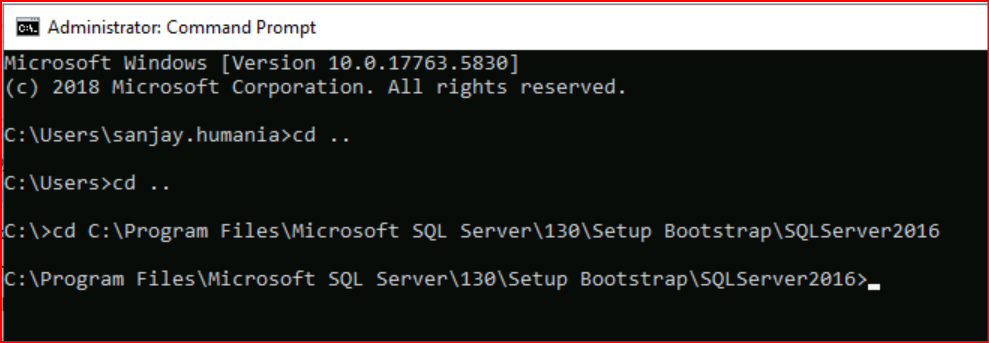
- From a command prompt, change directories to the location of the setup.exe file on the local server. For SQL Server, the default location on the server is C:\Program Files\Microsoft SQL Server\160\Setup Bootstrap\SQLServer2016.
- Rebuild the master database specifying the new collation in the SQLCOLLATION property of the setup command. For example:
Setup /QUIET /ACTION=REBUILDDATABASE /INSTANCENAME=InstanceName /SQLSYSADMINACCOUNTS=accounts /SAPWD= StrongPassword /SQLCOLLATION=CollationName

-- Example --
setup /QUIET /ACTION=REBUILDDATABASE /INSTANCENAME=MSSQLSERVER /SQLSYSADMINACCOUNTS=abcd\xyzabcd /SAPWD= AccountPassword /SQLCOLLATION=SQL_Latin1_General_CP1_CI_AS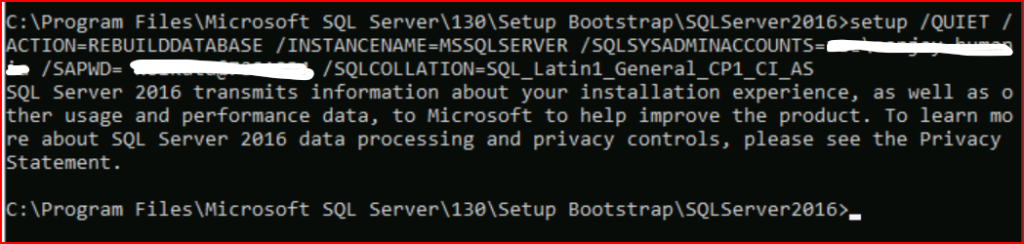
Step 6: Verify the New Collation
To ensure the server collation has been successfully changed, run:
SELECT SERVERPROPERTY('Collation') AS ServerCollation;This should return the new collation.
Step 7: Attach all User Databases
Attach all user databases which were detached
Step 8: Update Database Collations (if necessary)
Changing the server collation does not automatically change the collation of existing databases. Update each database’s collation as needed:
- Alter the database collation:
ALTER DATABASE [DatabaseName] COLLATE New_Collation_Name;- Update the collation of individual columns (if necessary):
ALTER TABLE [TableName]
ALTER COLUMN [ColumnName]
COLLATE New_Collation_Name;Step 9: Rebuild Indexes
Rebuilding indexes might be necessary as changing collations can affect how data is stored and queried. Use the following command to rebuild an index:
ALTER INDEX ALL ON [TableName] REBUILD;Step 10: Test the System
After making these changes, thoroughly test your databases and applications to ensure everything is functioning correctly with the new collation. Pay special attention to string comparisons, sorting, and any application-specific logic that might rely on collation.
Important Considerations
- Impact on Applications: Changing collation can affect string comparisons, sorting, and indexing, which might require adjustments in your applications.
- Testing Environment: If possible, perform these changes in a non-production environment first to identify and address any issues.
- Documentation: Keep detailed documentation of the changes made and any issues encountered.
By following these steps, you can change the server collation in SQL Server post-installation while minimizing risks and ensuring data integrity. Proper planning, backups, and thorough testing are the keys to a successful collation change.


This is awesome information